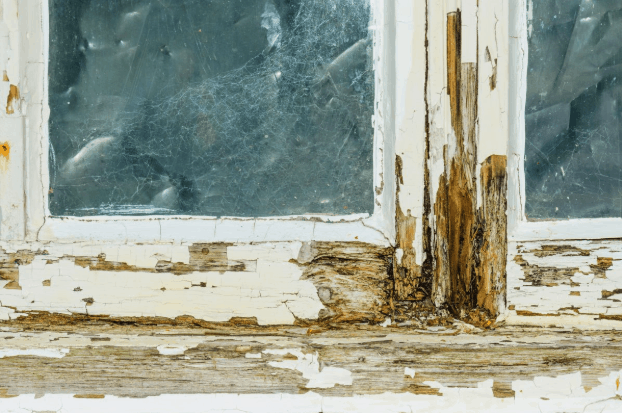
Exterior wood trim failure is one of the most common issues a home’s exterior will face. Trim covers vulnerable areas like window and door surrounds, siding breaks, course edges and roofline components like fascia boards — all constantly exposed to the elements. Moisture is the primary culprit, leading to cracking, peeling and blistering of the finish, followed by softening and rot. Even premium woods like cedar or redwood aren’t immune.
On trim-heavy homes, full replacement is often the most practical solution, but material selection is critical: the wrong choice leads to callbacks, color inconsistencies and finish failures. Preservative-treated wood trim addresses many of these issues, making it a reliable option for dealers and distributors looking to reduce maintenance problems and increase customer satisfaction.
The Importance of Outdoor Wood Trim
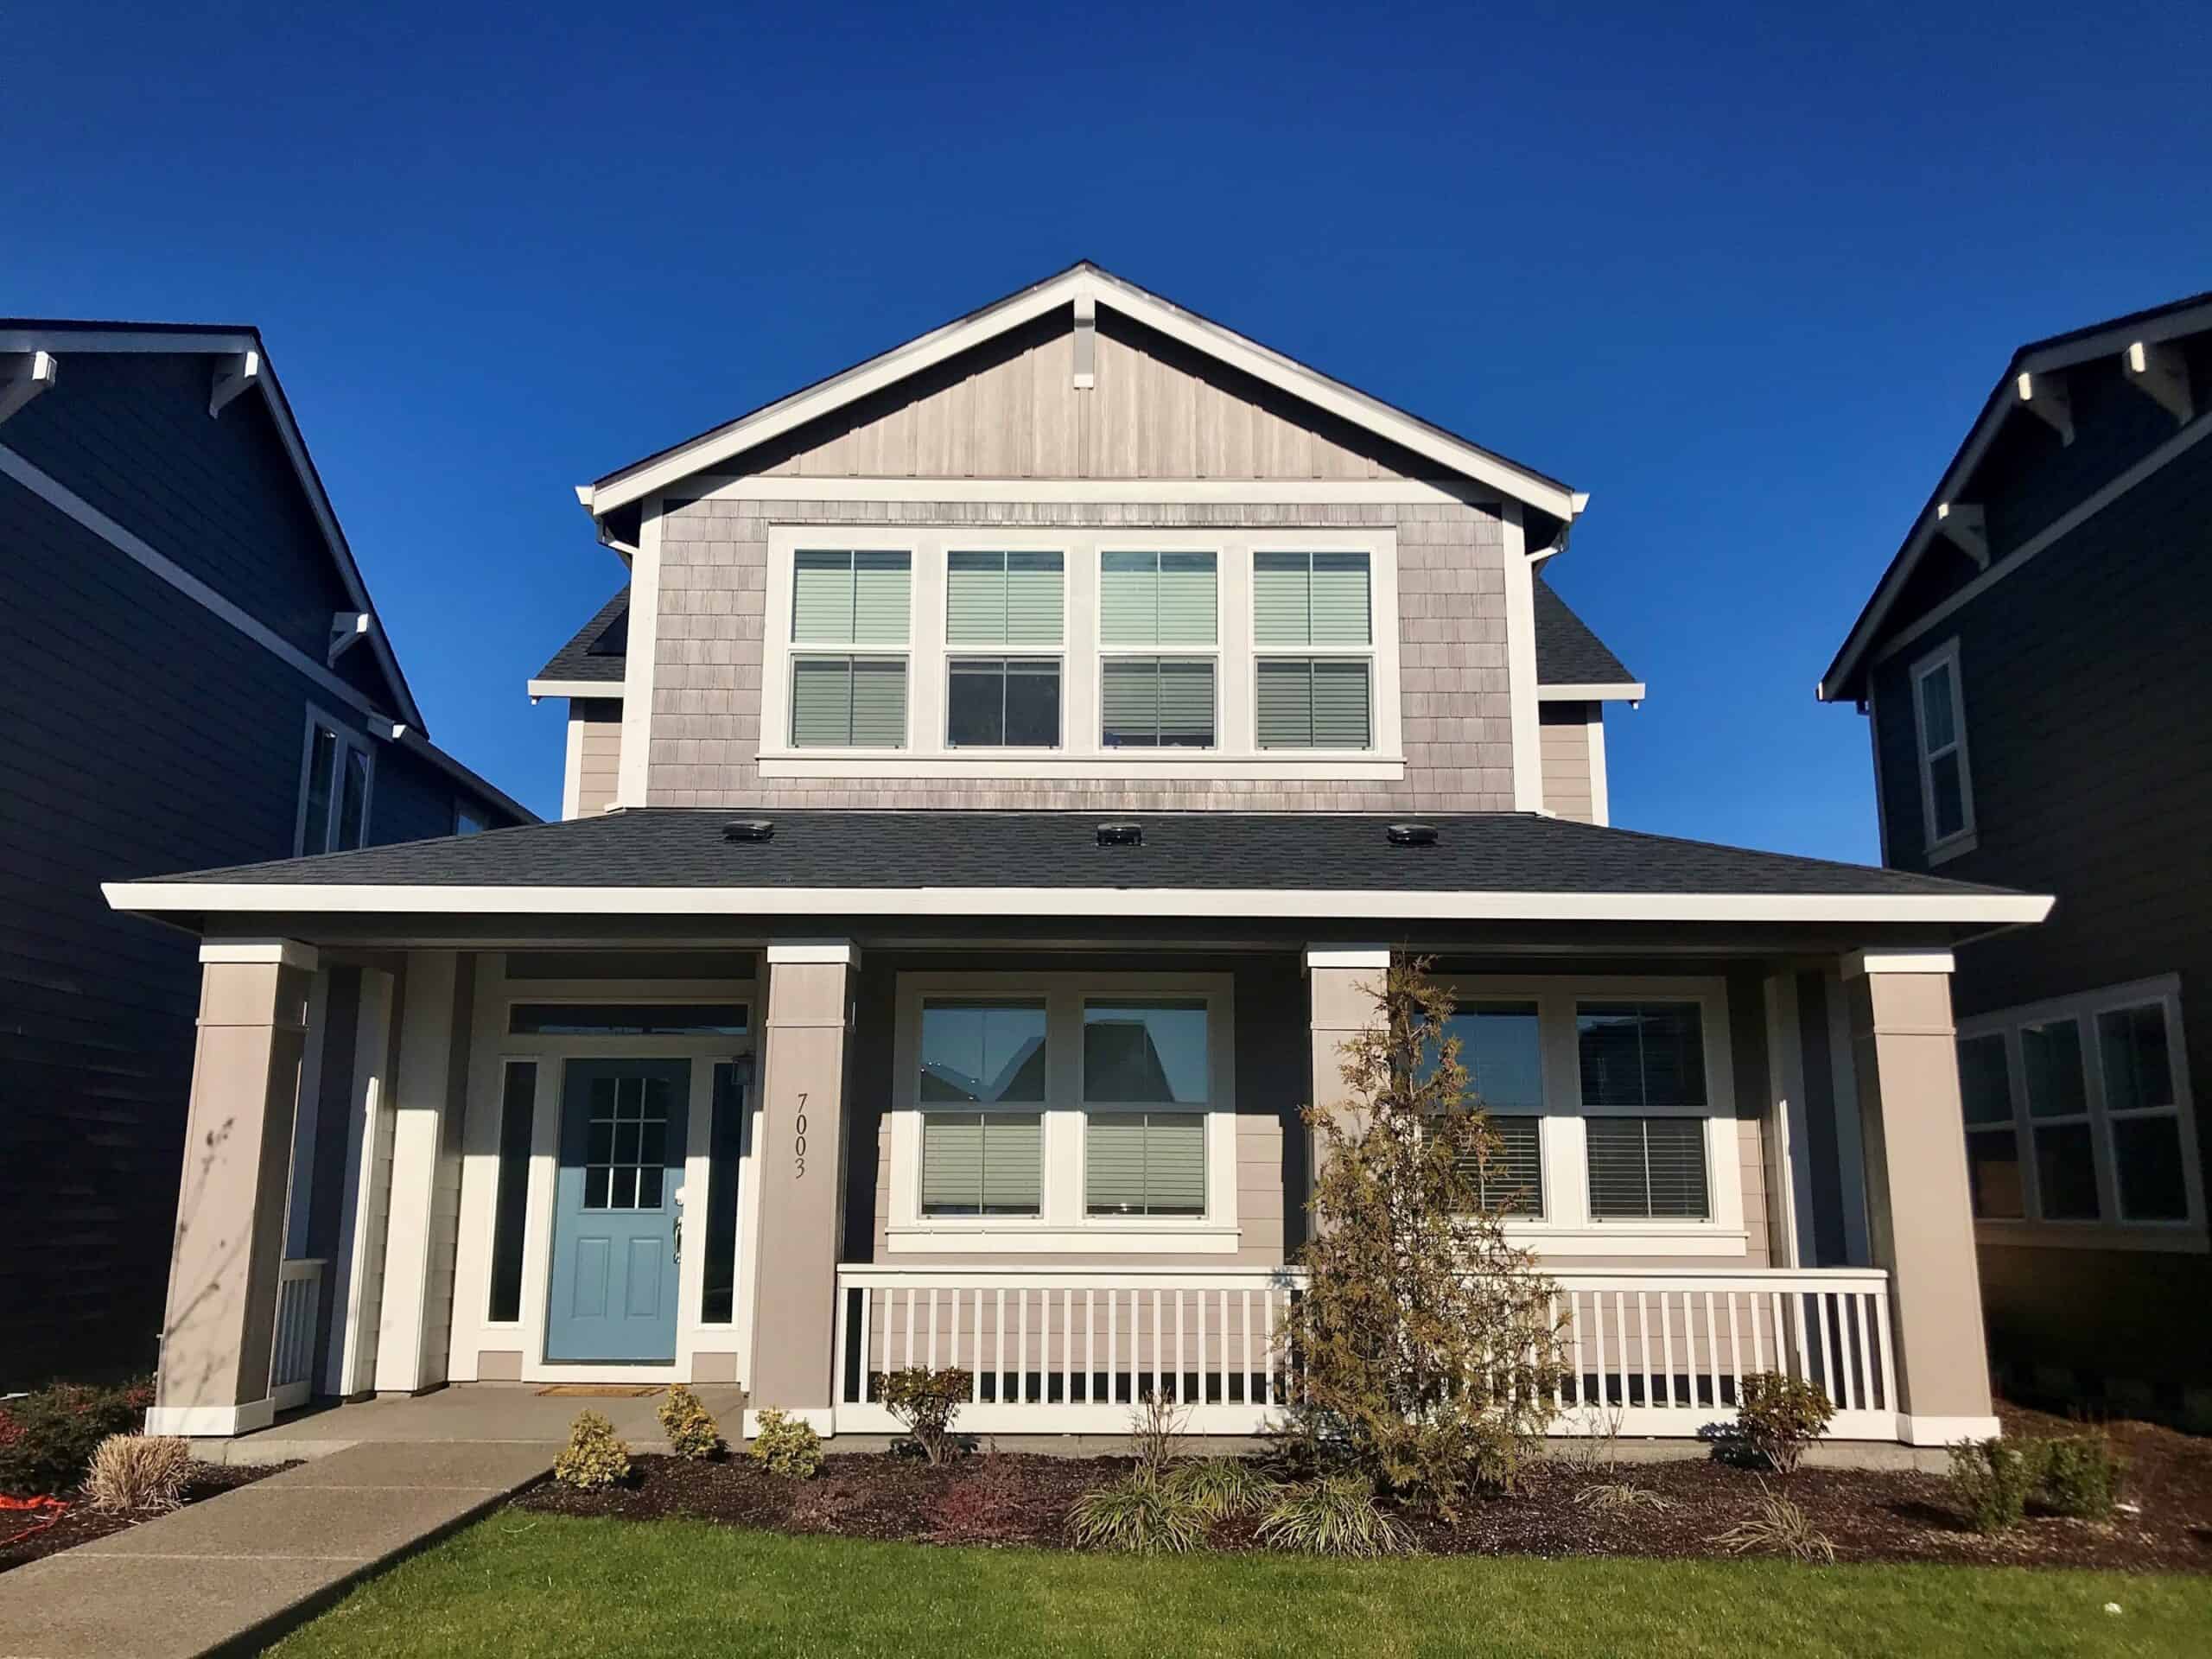
Exterior trim is more than a decorative accent; it’s a vital component of a home’s defense against weather and environmental factors. Wood trim frames windows, doors and corners, sealing vulnerable joints and providing a finished look to the exterior. Fascia boards along the roofline contribute to this protection by directing water away from the structure.
Wood trim remains a classic choice for exterior applications due to its natural beauty and versatility, providing a warm and traditional aesthetic. However, it’s prone to rot and insect damage, requiring more maintenance compared to composite options.
For builders, framers and siding professionals, replacing or repairing exterior trim is essential to maintaining curb appeal and structural integrity, which in turn affects client satisfaction and project success.
With materials ranging from traditional wood to advanced composites, choosing the right option ensures the home stays protected for years to come.
Assessing the Condition of Existing Trim
Before deciding whether to repair or replace exterior trim, contractors and installers should thoroughly assess all trim conditions. Walk the job site and inspect for visible damage such as cracks, peeling paint, holes or areas where wood feels soft or spongy, all classic signs of rot.
Multiple paint layers may indicate previous repairs or material changes requiring special attention. Roof edges and fascia boards should also be checked, as they are frequent points of water exposure. To verify sealant effectiveness, simply perform a water test: if water beads on the surface, protection is intact; if it soaks in, resealing is needed.
Minor issues like small cracks or nail holes can often be repaired, but extensive rot or damage calls for full replacement to protect the home’s exterior and reduce future service calls. Proper drainage management is also critical to prevent water damage to outdoor wood trim.
Removing Rotted Trim
When rotted trim or fascia boards require replacement, carefully remove damaged boards using pry bars, taking care not to disturb surrounding siding or framing. Before installing new material, inspect the exposed area for mold or additional rot and address any issues found.
Use scarf joints to seamlessly integrate new boards with existing trim. In high-moisture or rot-prone areas, cedar and preservative-treated trim are the strongest choices for long-term performance.
Proper removal and replacement restore the home’s appearance and help prevent recurring moisture problems, reducing callbacks and protecting builder and dealer reputations.
What Is Preservative-Treated Wood Trim?
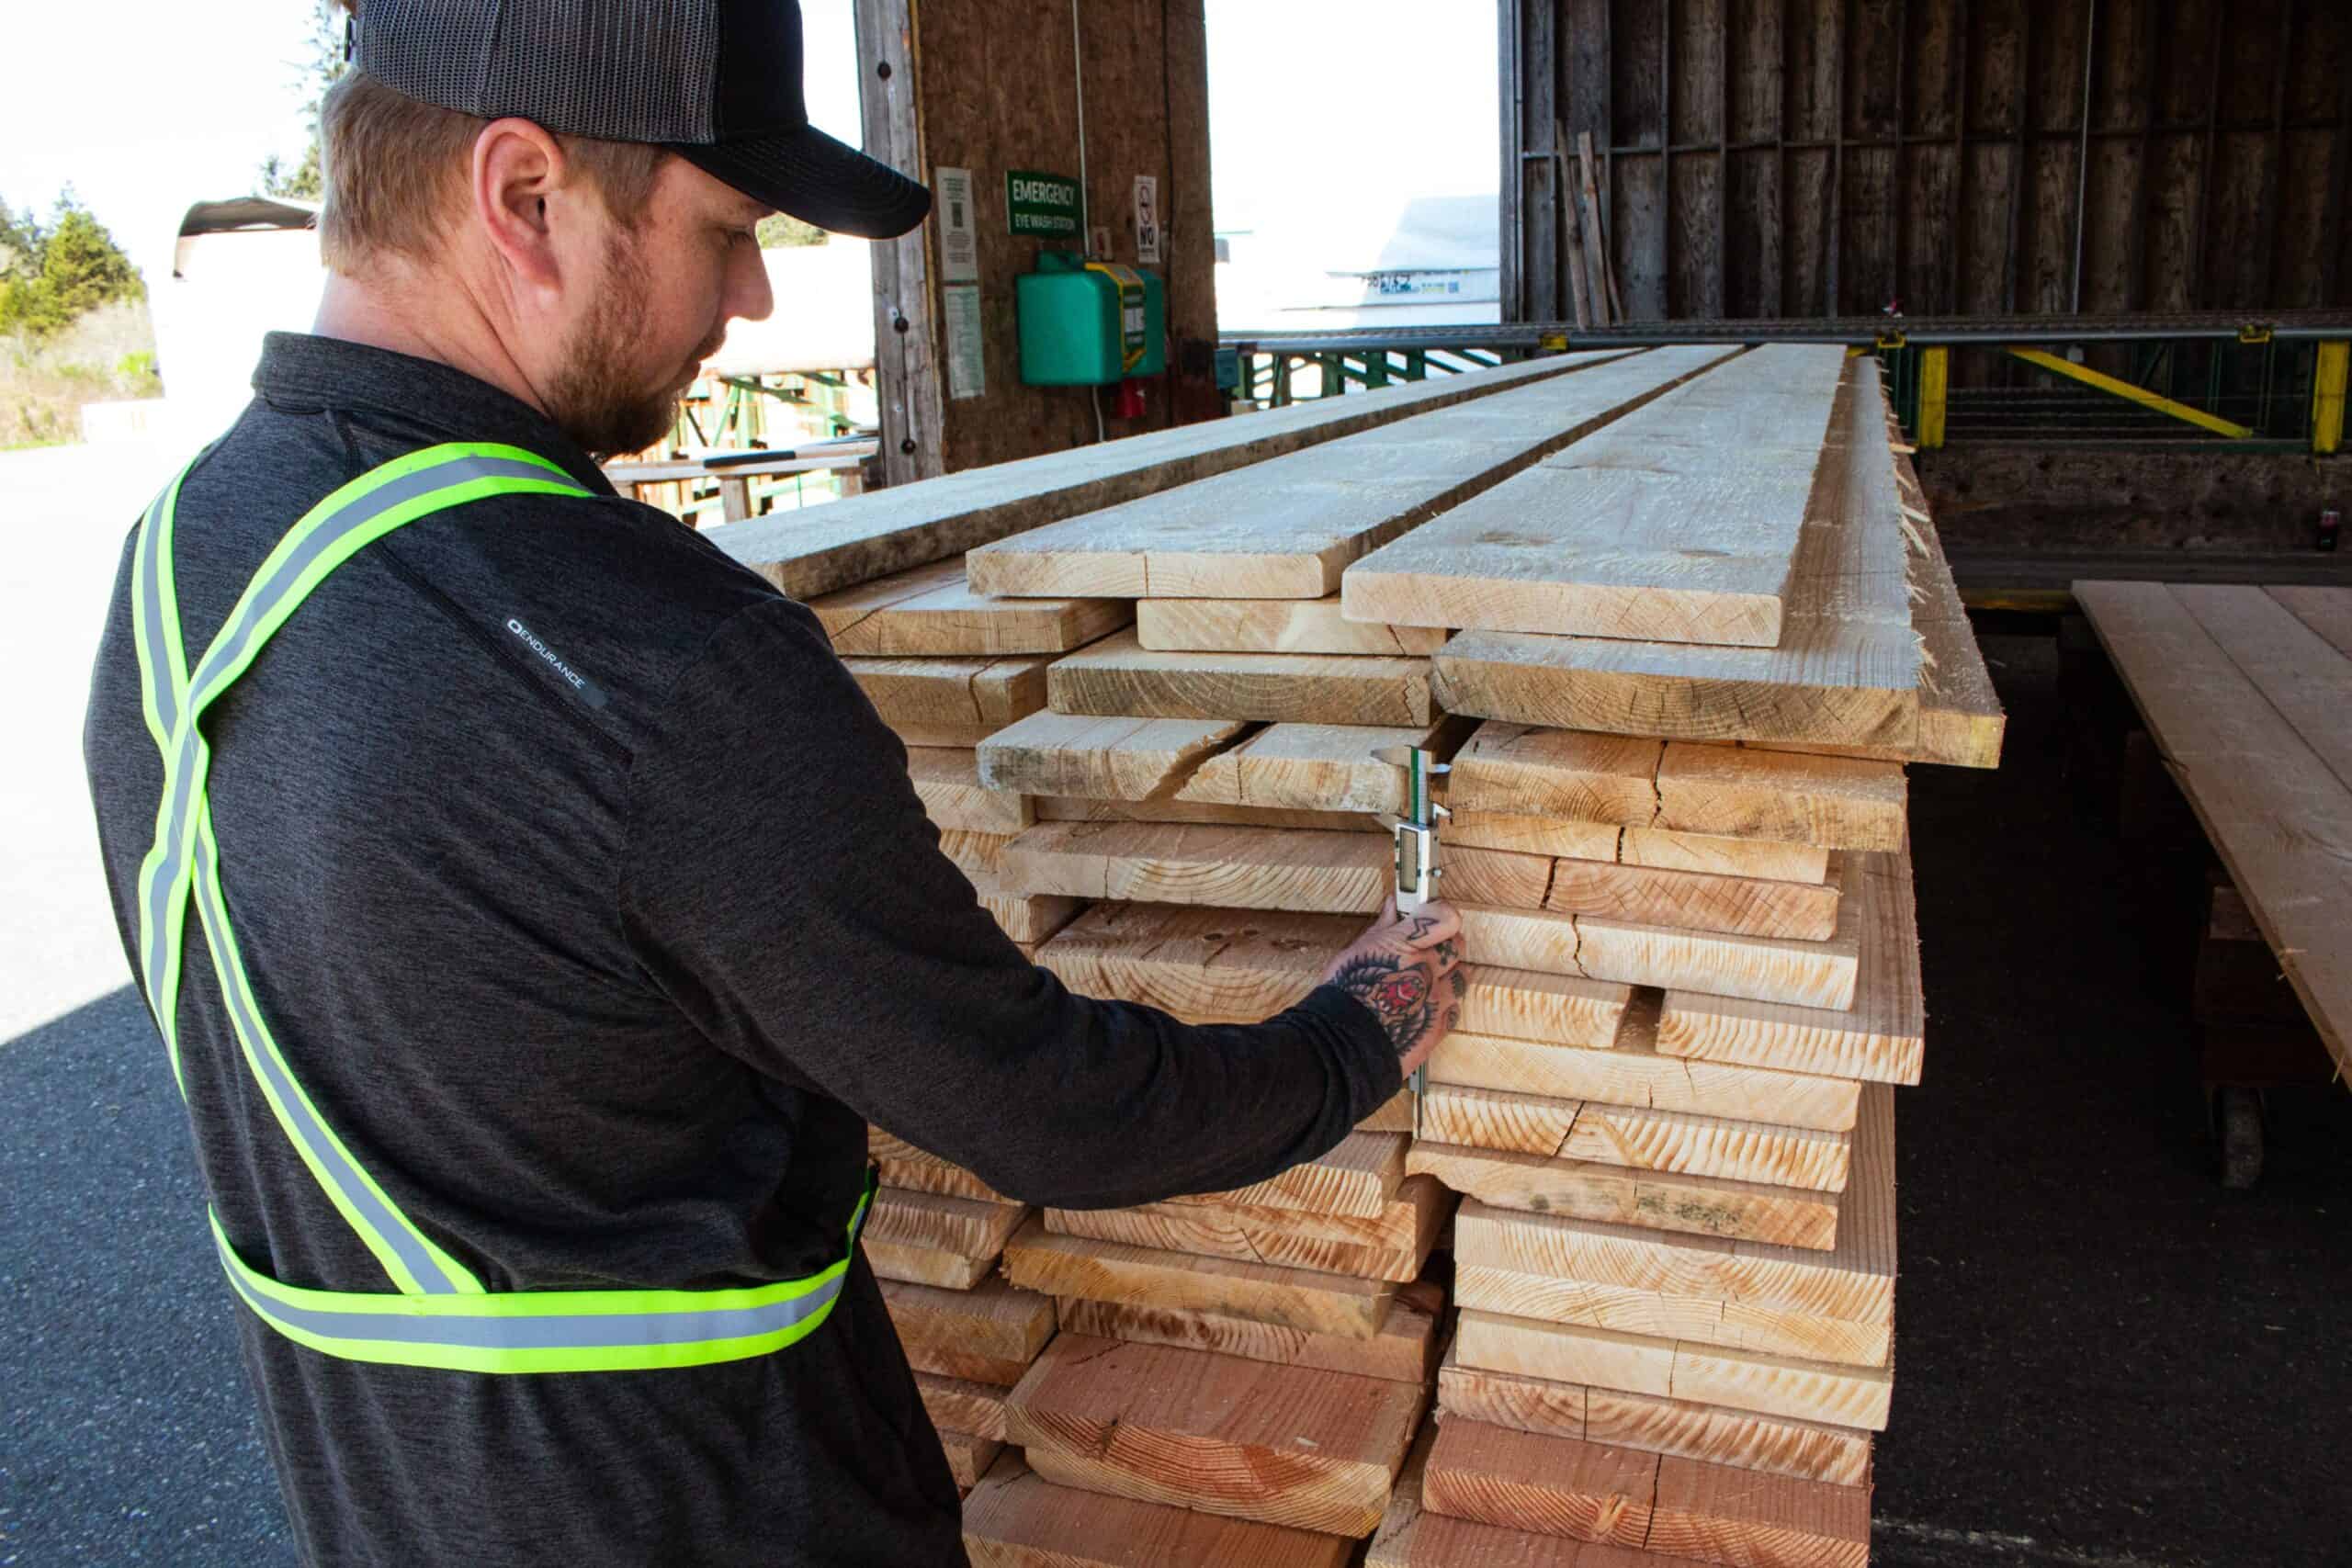
Preservative-treated wood trim offers an advanced alternative to standard wood trims, addressing many common problems faced by builders and dealers. It’s kiln-dried for stability, then treated with preservatives that protect against fungi and insects. A primer coat seals all edges and sides, preventing moisture infiltration and enhancing durability.
The result is trim that is stable, lightweight and easy to install, and one that costs less than cedar and other premium woods.
Why Preservative-Treated Wood Trim Is the Right Choice
For contractors and dealers, the ideal trim material is one that installs easily, performs reliably and keeps callbacks to a minimum. Preservative-treated wood trim delivers on all three.
It arrives on the jobsite kiln-dried, lightweight and pre-primed with a durable acrylic-latex coating tested to resist moisture, rain and abrasive scrubbing. No site priming required. The result is faster installation and a finish that holds up from day one.
Compared to the alternatives, preservative-treated wood strikes the best balance of performance and value. Vinyl offers limited finish options and little workability. PVC resists moisture and rot but comes at a higher price point with fewer customization options. Fiber cement is durable and carries warranties up to 15 years, but its added weight and more complex installation drive up labor costs. Preservative-treated wood matches or exceeds the performance of these options while remaining easier to work with and more cost-effective than cedar or other premium woods.
XT Trim from Belco backs this up with a 20-year limited warranty, giving dealers, builders and architects confidence in long-term performance. It supports dealer margins, simplifies the installation process and helps builders deliver quality results their clients will notice.
Installation Best Practices for Exterior Wood Trim
Good installation starts before the first board goes up. Builders and framers should apply primer to all four sides of wood trim prior to installation, a step that pre-primed preservative-treated wood handles before it even reaches the jobsite.
Measure and cut trim precisely for a proper fit around windows, doors and other exterior transitions. Belco supports this with multiple widths and lengths to meet project needs. Selecting trim with minimal knots and orienting the finished side outward ensures best results.
Seal all joints, protect end grain and use proper flashing techniques at vulnerable connection points to prevent water intrusion. Following correct installation practices helps ensure the trim performs as intended and reduces the risk of moisture-related damage over time.
Common Mistakes to Avoid in Exterior Wood Trim Installation
Avoiding these common missteps will help ensure long-term performance and reduce callbacks:
- Using unprimed or untreated materials: Even brief moisture exposure accelerates decay in unprotected wood. Always prime all four sides, including cut edges and joints.
- Skipping rot remediation: Installing new trim over compromised framing leads to continued deterioration regardless of the material used. Address existing rot before any new material goes in.
- Poor fitting at joints and transitions: Gaps at corners, joints and window or door surrounds are among the most common entry points for water. Proper flashing and sealing at these areas is as important as the material itself.
- Ignoring end grain: Cut ends are especially vulnerable to moisture absorption and are easy to overlook. Seal all end grain before and after installation.
Choose the Right Exterior Wood Trim Replacement
For dealers and builders, the right trim choice comes down to durability, ease of installation and fewer callbacks. Preservative-treated wood trim delivers on all three: factory-treated, pre-primed and priced below cedar.
Ready to specify XT Trim for your next project? Contact Belco Forest Products to request samples, pricing and expert guidance.