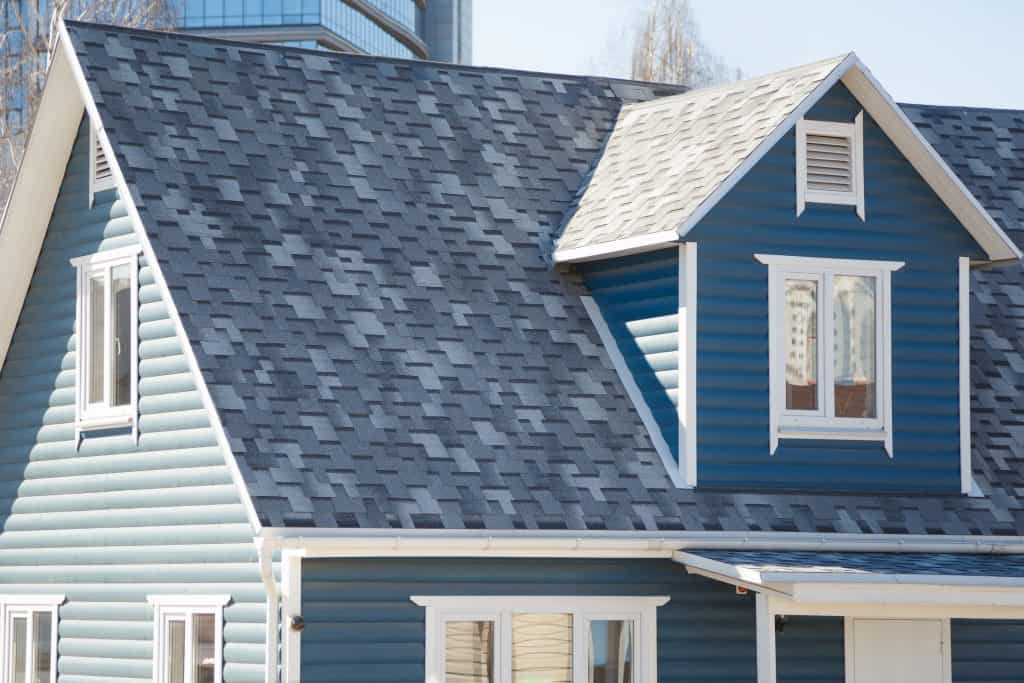
A dry home is a happy home, and it starts by properly managing the exterior moisture envelope. The exterior walls on every home serves as the structural base. Siding and trim installation cover the largest expanse (outside of the roof) of the moisture envelope. But doors and windows must be installed right to keep the exterior moisture envelope dry. The exterior walls must be sealed from water to ensure that the inside of the home stays dry. That includes all that is attached or installed to the exterior walls.
Use The Right Product Protect the Exterior Wall
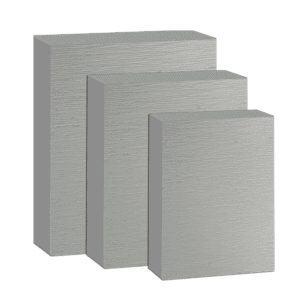
There are many options available to the builder when it comes to siding and exterior trim in addition to all moisture management products. Composite building products are on that list, and they include materials like concrete, reinforced plastics, cement, steel, wood fibers, and glue. While these manufactured products boast ease of installation when used within their systems, there are very detailed instructions that must be followed to ensure that moisture is not allowed to get behind them and reach the exterior walls.
Use The Right Exterior Wall Technique To Manage Water Properly
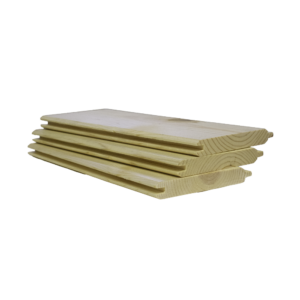
Whether you are using all-natural wood or a manufactured product for siding and exterior trim, the product must be installed by following the manufacturer’s recommendations to ensure its effectiveness on the home. The trades doing the installation must be aware of the most current recommended standards for attaching trim and siding products as well as knowledgeable concerning the types of fasteners that work best for a given product in a particular environment.
Treat Siding Joints Properly
The proper installation of wood or composite siding involves more than making sure the nails are hitting a stud. Every joint that is formed when two pieces of siding meet (called a butt-joint) must be properly flashed, or there will eventually be a water leak in that location. The method that is recommended to eliminate this situation is called back-flashing and involves using an approved flashing material (felt paper, house wrap, etc.) that goes behind the butt-joint and overlaps the piece of siding below to shed the water away from the wall and onto the siding. It is not recommended to caulk butt-joints. There may be hundreds of them on an average home, and over time, these joints will have to have maintenance and require re-painting as the caulk eventually fails.
Caulk Siding End Joints With Correct Sealant As A Moisture Barrier
Properly managing the exterior envelope where siding meets a piece of trim, requires caulk application to ensure the maximum protection from moisture entry to the exterior wall. The type of caulk used will depend upon the siding. For most siding, you will want to look for caulks that remain permanently flexible. Silicone, acrylic latex, solvent-based, elastomeric, and butyl rubber are some of the most common types. Fast-drying caulks should be avoided due to their shorter life-spans on exterior applications.

How The Exterior Wall Moisture Barrier Works
“A moisture barrier is part of the wall assembly; it prevents the passage of moisture, rain, and wind through critical areas of the walls and roof, and protects vulnerable building components from deterioration.” The weather barrier starts with house wrap in most modern construction applications. This is either stapled or nailed to the exterior walls, and the joints are all sealed from water entry with an approved tape. The window and door openings are then wrapped with a water-resistant tape to help maintain the integrity of the moisture envelope before their installation. These tapes must be properly installed, or the possibility of failure exists. The top layer of tape must always overlap (not underlap) the layer below it or water can get behind the tape and affect the exterior wall.
Flash Above Doors And Windows
In days of old, metal flashing was used above doors and windows to maintain the integrity of the moisture envelope on a home. Today, most windows are manufactured with a built-in, weatherproof nailing flange that replaces the old metal flashing. For this flange to work properly, it must be slid beneath the top layer of window tape so that water cannot get behind the tape and affect the wood structure beneath. If the window is installed against the tape that is attached to the house wrap and then taped over again, the waterproofing is dependent on the tape never losing its grip. For doors, the standard metal drip strip works fine but also needs to be installed below the window and door wrap tape is applied for a proper seal eliminating moisture infiltration.