Tongue-and-groove ceiling boards bring warmth, texture and a custom, high-end look to any space, without exposed fasteners or seams. Here’s everything you need to know to install them like a pro, from measuring and prepping to fastening and finishing, whether it’s your first project or your fiftieth.
Materials and Tools for Your Ceiling Project
Materials
- Tongue and groove boards (enough to cover your ceiling area, plus 10–15% extra for waste)
- Furring strips (if installing over drywall or uneven joists)
- Finishing nails or brad nails
- Trim and molding pieces for finishing
- Wood filler or putty
- Stain, sealer or finish (if desired)
- Sandpaper or sanding block
Tools
- Measuring tape
- Pencil and chalk line
- Level and square
- Stud finder
- Miter saw or circular saw
- Table saw (if ripping boards to width)
- Nail gun or brad nailer (or hammer, if nailing by hand)
- Rubber mallet (for tapping boards snugly into place)
- Ladder or scaffolding
- Safety glasses and dust mask
Gather all tools and materials before starting to avoid interruptions during installation.
Planning the Installation
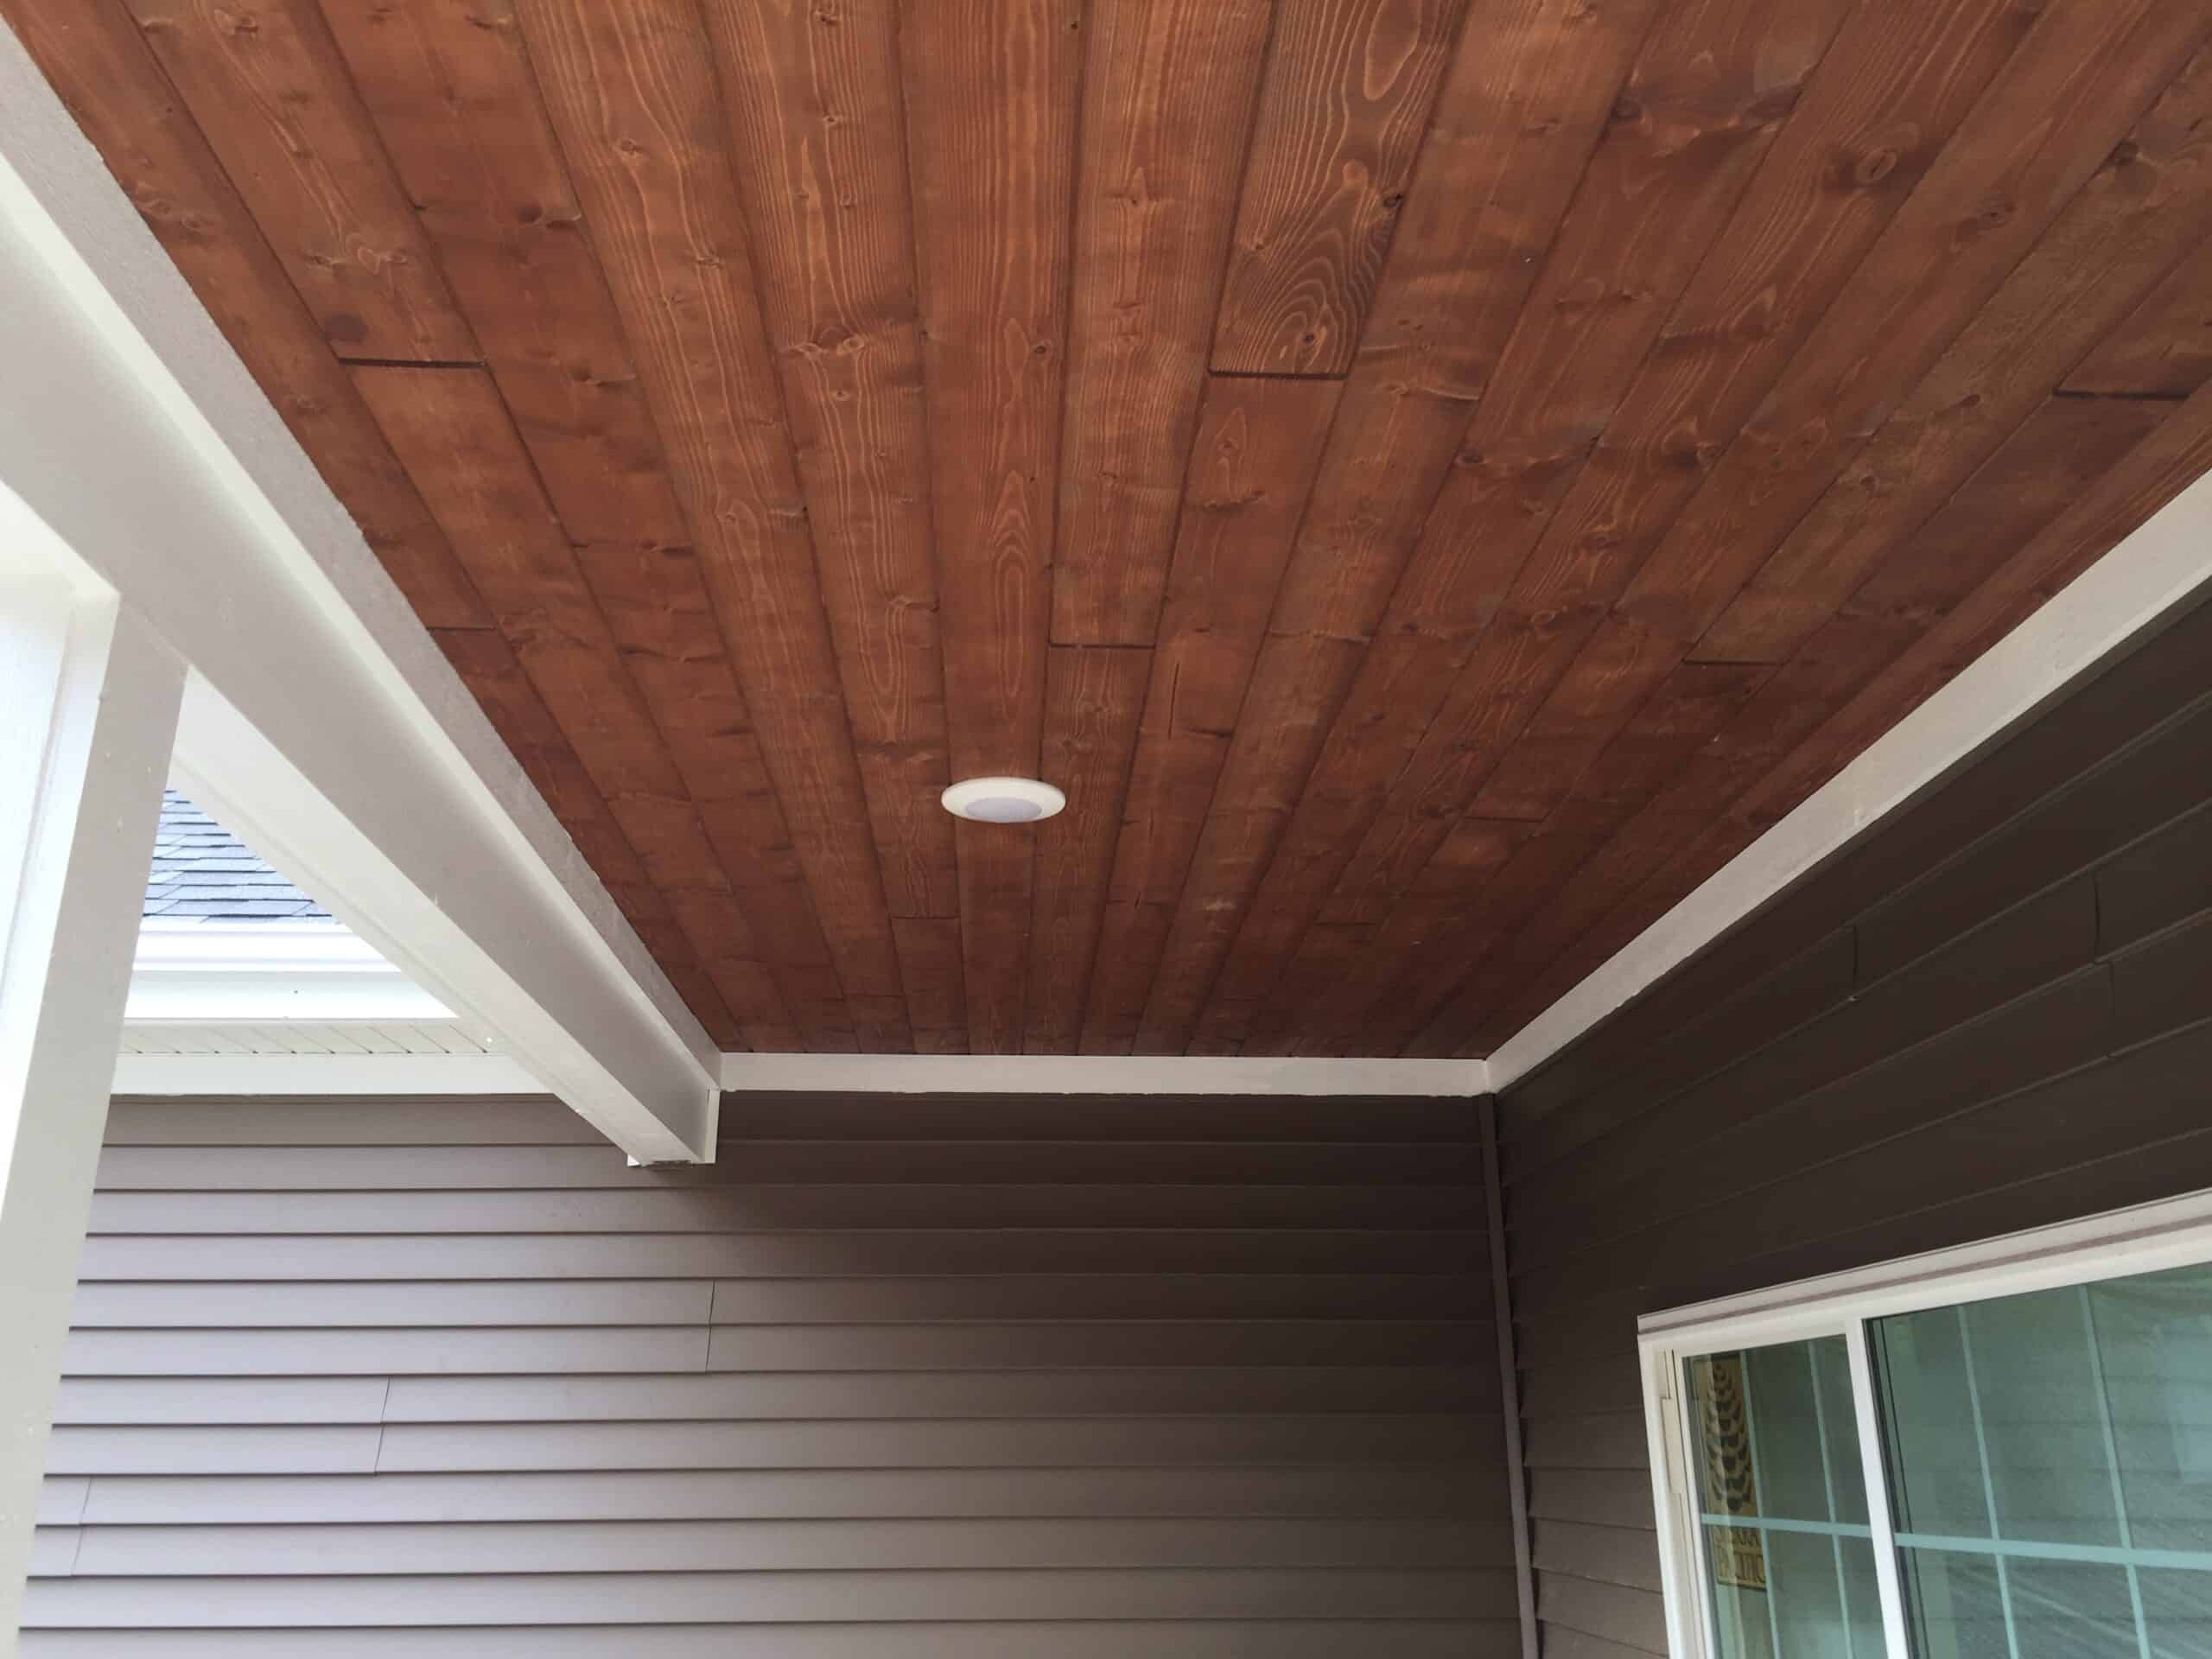
Start by measuring the ceiling and planning your board layout.
Measuring and Calculating Material Needs
Start by measuring the length and width of your ceiling to calculate the total square footage. Measure in several locations, since ceilings aren’t always perfectly level or square. This helps you account for any variations before cutting your boards.
Sketch the ceiling layout and mark fixtures, vents, beams and joists to plan board placement and fastening points.
When estimating materials, buy an additional 5% to 10% to account for cuts, waste and mistakes. Having a few extra boards on hand is much easier than trying to match the same product later.
Choosing Board Direction and Layout
Decide which direction the boards will run before you begin. Running boards parallel to the longest wall can make a room look longer, while running them perpendicular can make it feel wider. If you’re fastening the planks to ceiling joists, however, the joist direction may determine the best layout.
Consider fixtures, vents and other ceiling features when choosing your starting point to reduce awkward cuts.
Stagger end joints between rows to create a more natural appearance.
Preparing the Ceiling and Boards
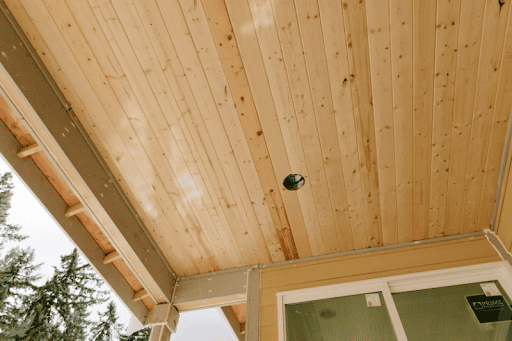
Before installing the boards, prepare both the wood and the ceiling surface.
Acclimating the Wood
Wood naturally expands and contracts as humidity changes. Understanding how wood responds to moisture is an important part of preventing movement-related issues after installation.
Before installation, let the boards acclimate in the room where they’ll be installed, following the manufacturer’s recommendations, typically 48 to 72 hours.
Stack boards flat on spacers to allow airflow and keep them off the floor. Acclimation helps reduce gaps, cupping and twisting caused by changes in temperature or humidity.
Checking for Level and Square
Use a level to check the ceiling for high or low spots before installing the boards. If the surface is uneven, install furring strips or shims to create a flatter surface for the planks.
If you’re installing over drywall, use a stud finder to locate the ceiling joists and mark them with a pencil or chalk line. You’ll need those marks when fastening the boards. Before you begin, repair any loose drywall, sagging areas or other damage that could affect the installation.
Installing a Tongue-and-Groove Ceiling
With the ceiling prepared and your materials acclimated, you’re ready to install the planks.
Installing the First Board
Start in one corner of the ceiling, preferably along the longest wall. Position the first board with the groove facing the wall and leave a 1/4-inch expansion gap between the board and the wall to allow for seasonal wood movement. Use a chalk line to keep the first row straight, since later rows will follow its alignment.
Secure the first board to the ceiling joists according to the manufacturer’s recommended fastening method. If the edge will be covered by trim or molding, face nailing the first board may be necessary before continuing with blind nailing on the remaining rows.
Fastening the Boards
Install each additional board by fitting the groove over the exposed tongue of the previous plank. If needed, use a scrap piece of wood as a tapping block and gently tap the board into place with a rubber mallet to avoid damaging the tongue or groove.
Fasten each board by driving finishing nails through the tongue at roughly a 45-degree angle into the ceiling joists. This hides the fasteners once the next board is installed.
Check alignment every few rows and, as mentioned, stagger end joints for a more natural appearance.
Working Around Fixtures and Obstructions
As you reach light fixtures, ceiling fans, vents or other openings, measure carefully before making any cuts. A jigsaw works well for irregular shapes, while a hole saw can be used for round openings.
If you’re installing over an existing electrical box, make sure it extends to the finished ceiling surface and is properly rated for the fixture it will support. When installing new light fixtures or ceiling fans, wait until the ceiling planks are in place before attaching the fixture or trim.
Finishing Touches
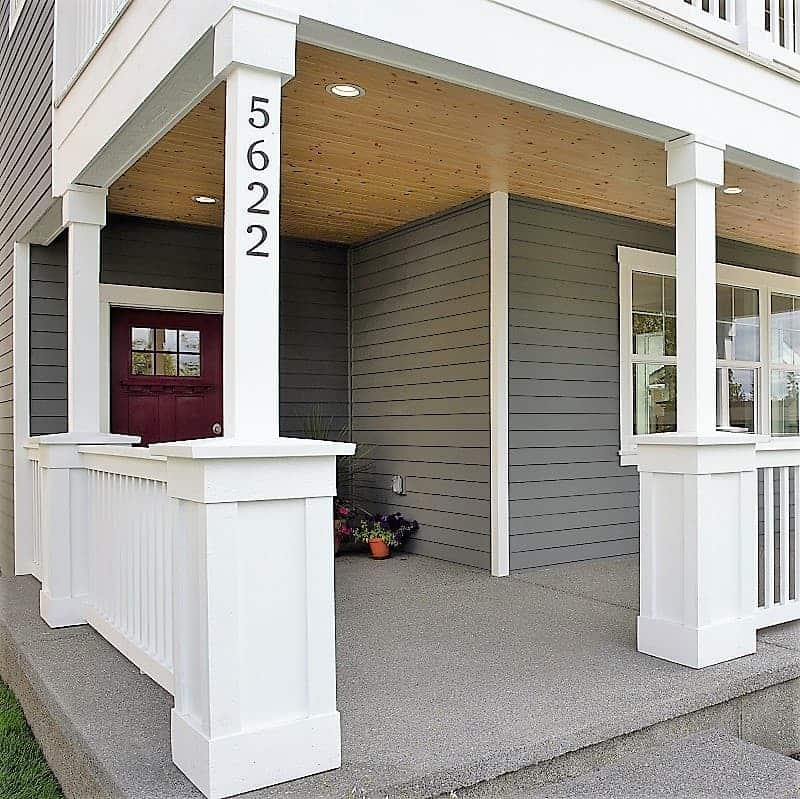
Once all the tongue-and-groove boards are installed, finish the ceiling with trim, molding and any protective coatings needed for the space.
Trim and Molding Details
Install trim or molding around the perimeter of the ceiling to cover the expansion gap and create a finished edge. Fasten the trim securely to the wall framing or ceiling structure using the appropriate nails or fasteners for the material.
For lightweight trim, a brad nailer may be sufficient. Larger or heavier molding may require a finish nailer for better holding power. After installation, fill visible nail holes with wood filler and sand smooth before applying paint or stain.
If your ceiling includes exposed beams, install the planks carefully around the beams to create a clean transition. The beams can also be highlighted with trim or used as a design feature.
For outdoor tongue-and-groove ceilings, choose trim materials and finishes designed to withstand moisture, temperature changes and UV exposure. Depending on the product and installation requirements, you may want to apply stain or finish before installation to protect the boards on all sides, including the tongue, groove and cut ends.
Common Installation Mistakes to Avoid
A tongue-and-groove ceiling can last for years when installed correctly. Avoid these common mistakes during the process:
- Skipping wood acclimation: Installing boards before they adjust to the room’s humidity can lead to gaps, cupping or movement after installation.
- Installing over an uneven surface: Repair sagging areas, damaged drywall or uneven framing before installation.
- Forgetting expansion gaps: Wood needs room to expand and contract, so leave the recommended gap around the ceiling perimeter.
- Using the wrong fastening method: Incorrectly placed fasteners can damage the boards, prevent a secure fit or cause visible gaps.
- Poorly planning the layout: Failing to account for board direction, fixtures and ceiling features can result in awkward cuts or an unbalanced appearance.
- Aligning all end joints: Staggering seams from row to row helps create a more natural appearance and prevents noticeable repeating lines.
Taking time during the preparation and installation stages will help prevent most issues. Keep your tools organized, check your alignment regularly and make adjustments as needed rather than forcing boards into place.
Complete Your Tongue-and-Groove Ceiling Project With Confidence
Installing a tongue-and-groove ceiling takes careful planning, but the finished result can add lasting beauty and value to a home. From selecting the right wood species to choosing complementary trim, every detail plays a role in how your ceiling looks and performs over time.
Ready to start your tongue-and-groove ceiling project? Belco Forest Products offers quality wood products backed by decades of experience helping builders and contractors select the right materials for their applications. Contact us today to discuss your project and get started with the right wood for the job.