A gap no wider than a pencil is sometimes all it takes for water to work its way behind trim and start rotting the wall sheathing underneath. Exterior trim isn’t just a finishing touch; it protects the structure from moisture, drafts and pests, while also giving the home curb appeal.
The problem is, small installation mistakes are easy to make and expensive to fix later: peeling paint, water-damaged sheathing and compromised wall systems are common results of trim that wasn’t installed correctly the first time.
Below, we’ve outlined the five most common exterior trim installation mistakes and how to avoid them.
Why Proper Exterior Trim Installation Matters
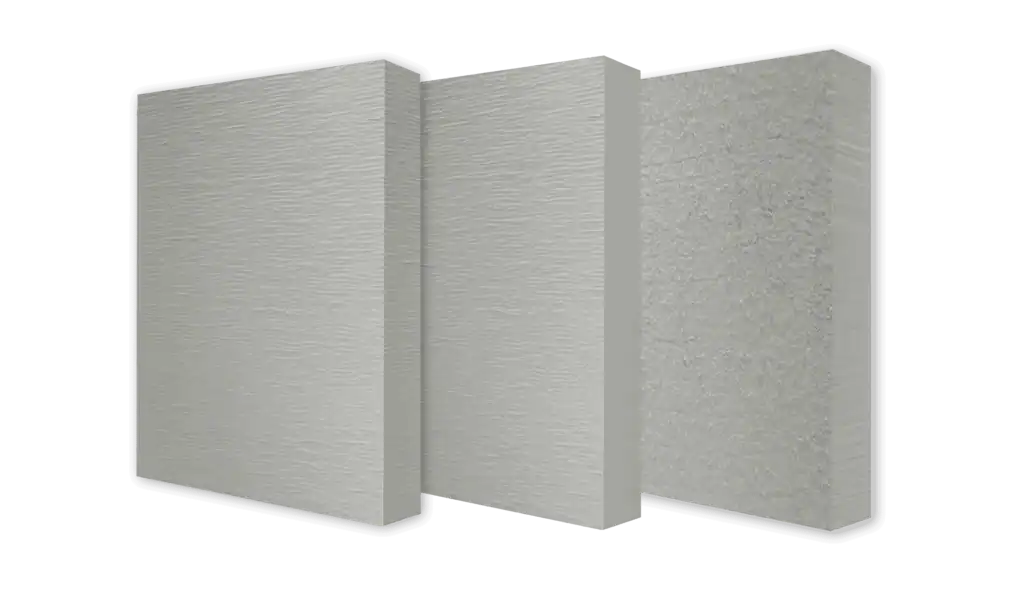
Whether the siding is wood, vinyl or fiber cement, trim boards form a protective barrier around windows, doors and other openings, blocking rainwater while giving the siding a finished appearance.
Installed correctly, trim adds years to a siding job and keeps the wall system healthy. Installed poorly, it opens the door to water damage, rot and paint failure, especially around windows, doors, patio roofs, soffits and fascia.
Mistake #1: Skipping Flashing and Moisture Barriers
Water Intrusion Around Windows and Doors
Skipping flashing and moisture barriers is one of the costliest mistakes a crew can make. These materials create a waterproof seal between the trim and the wall system.
Without flashing, rainwater seeps behind siding and trim near windows and doors. Left unnoticed, that moisture damages the sheathing and framing underneath.
Long-Term Rot and Structural Damage
Water inside a wall system leads to wood rot and mold. Exposed wood around window sills and door casings is especially vulnerable to paint failure and decay when it isn’t protected. Over time, unresolved moisture problems weaken the framing and sheathing, leading to costly repairs or full replacement.
When flashing is installed correctly, including the use of J-channels and kick-out flashing at roof-to-wall intersections, it’s one of the most effective ways to prevent water damage in a trim project.
Mistake #2: Not Sealing End Cuts and Joints
Why End Grain Absorbs More Moisture
Failing to seal the end cuts and joints of trim boards is a common oversight. End grain, whether on wood trim or plywood, is far more porous than face grain and absorbs water much faster, making cut ends especially vulnerable to infiltration and damage.
How Unsealed Cuts Lead to Rot
Unsealed end cuts and joints let moisture into the trim, causing swelling, warping and eventually rot. That damage doesn’t just hurt appearance; it shortens the trim’s lifespan and creates new paths for water to enter.
Prime and seal every cut edge before installation. A high-quality exterior paint or sealant protects the end grain and joints, creating a smooth transition that blocks moisture and hides seams.
Factory priming closes part of this gap before the material ever reaches the site. Belco XT Trim ships primed on all six sides, so the faces, edges and factory ends arrive sealed. What factory priming can’t cover is the cut you make on the sawhorse. Every field cut opens fresh end grain, and so, every field cut needs to be primed before it goes on the wall.
Mistake #3: Using the Wrong Fasteners
Corrosion and Fastener Failure
Nails or screws not rated for exterior use corrode quickly, particularly in areas exposed to heavy rain or humidity. Once fasteners rust, they lose their holding power, and trim boards loosen, warp or fall off.
Choosing Exterior-Rated Nails and Screws
Use corrosion-resistant fasteners (stainless steel or hot-dipped galvanized) for exterior work. These hold up to temperature swings and moisture without breaking down. Size fasteners appropriately so they secure trim to the framing or sheathing without splitting wood or damaging the surrounding siding..
Mistake #4: Installing Trim Too Tight
Wood Expansion and Contraction
Wood and other trim materials expand and contract with temperature and humidity. Installing trim too tightly against siding or framing leaves no room for that movement, which leads to buckling, cracking or gaps over time.
Allowing Proper Spacing for Movement
Leave a small gap between trim boards and siding, and between trim pieces, to allow for normal movement. Different siding materials move differently: vinyl needs generous clearance to expand without buckling, while fiber cement is less forgiving if a gap was cut to vinyl tolerances. Match the reveal to what you’re siding with.
Wood trim needs the same consideration: slight spacing prevents cracked paint and reduces damage during temperature swings. Flashing and sealing should work alongside that spacing, keeping water out while letting materials move.
Mistake #5: Poor Caulking and Sealing Practices
Gaps That Allow Moisture Entry
Even a well-executed installation can fail at the caulking stage. Gaps at joints, corners and where trim meets siding or windows give water and air an easy way in. Left alone, these gaps lead to peeling paint, water damage and lower energy efficiency.
Choosing the Right Exterior Sealants
Choose a flexible, exterior-grade caulk that holds up to temperature changes, UV exposure and moisture; silicone and polyurethane-based products are generally the most durable and adhesive. Apply caulk smoothly, fill every gap and seam, and tool it for a flush, clean finish. Inspect and maintain caulked joints regularly to catch problems before they cause damage.
Best Practices for Long-Lasting Exterior Trim Installation

To make an exterior trim installation last:
- Inspect the wall system, sheathing and framing thoroughly, and repair any existing water damage before installing trim.
- Install flashing, J-channels and moisture barriers to direct water away from openings and vulnerable areas.
- Choose materials suited to the climate and project goals: wood trim for a traditional look, vinyl or fiber cement for harsh environmental conditions and long-lasting durability.
- Prime and seal all cut edges and joints before installation to block moisture absorption.
- Use corrosion-resistant fasteners sized correctly for the material and attachment points.
- Leave room for expansion and contraction; don’t fasten siding or trim too tightly.
- Apply high-quality exterior sealant to every joint, seam and gap for a smooth, protective finish.
- Inspect trim and caulking regularly, especially after heavy rain or temperature swings, to catch problems early.
Get Your Exterior Trim Installation Right the First Time
Exterior trim installation mistakes are costly, but they’re avoidable with careful planning and attention to detail. Proper flashing, sealing, fastener selection and spacing for material movement all work together to protect the wall system and the home’s appearance.
A pencil-width gap, an unsealed joint, the wrong fastener. None of these look like much on the day they happen, and that’s exactly the problem — trim failures reveal themselves a season or two later, after the scaffolding is down and the check has cleared. These five common mistakes are worth even more attention precisely because they’re so easy to walk past.
Don’t let a small installation oversight turn into a callback. Contact Belco Forest Products today for trim materials — and expert guidance — built to hold up for years to come.